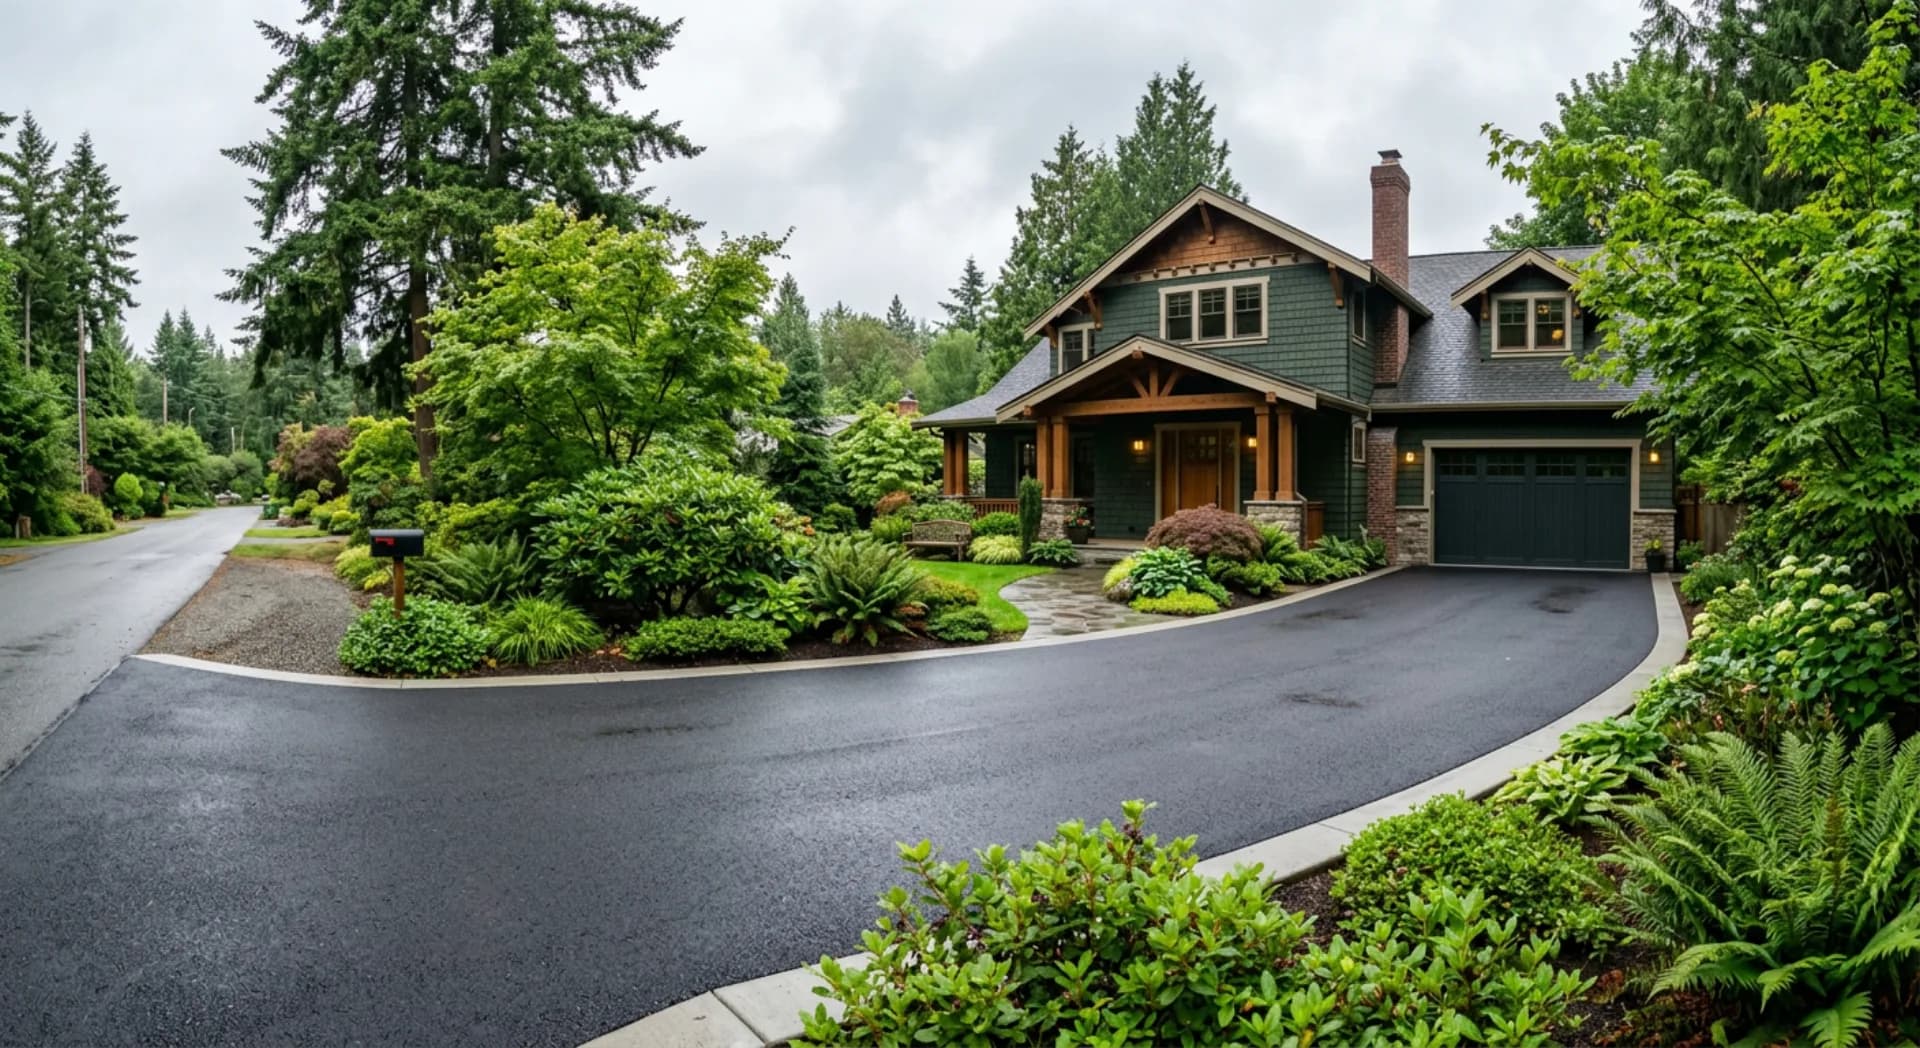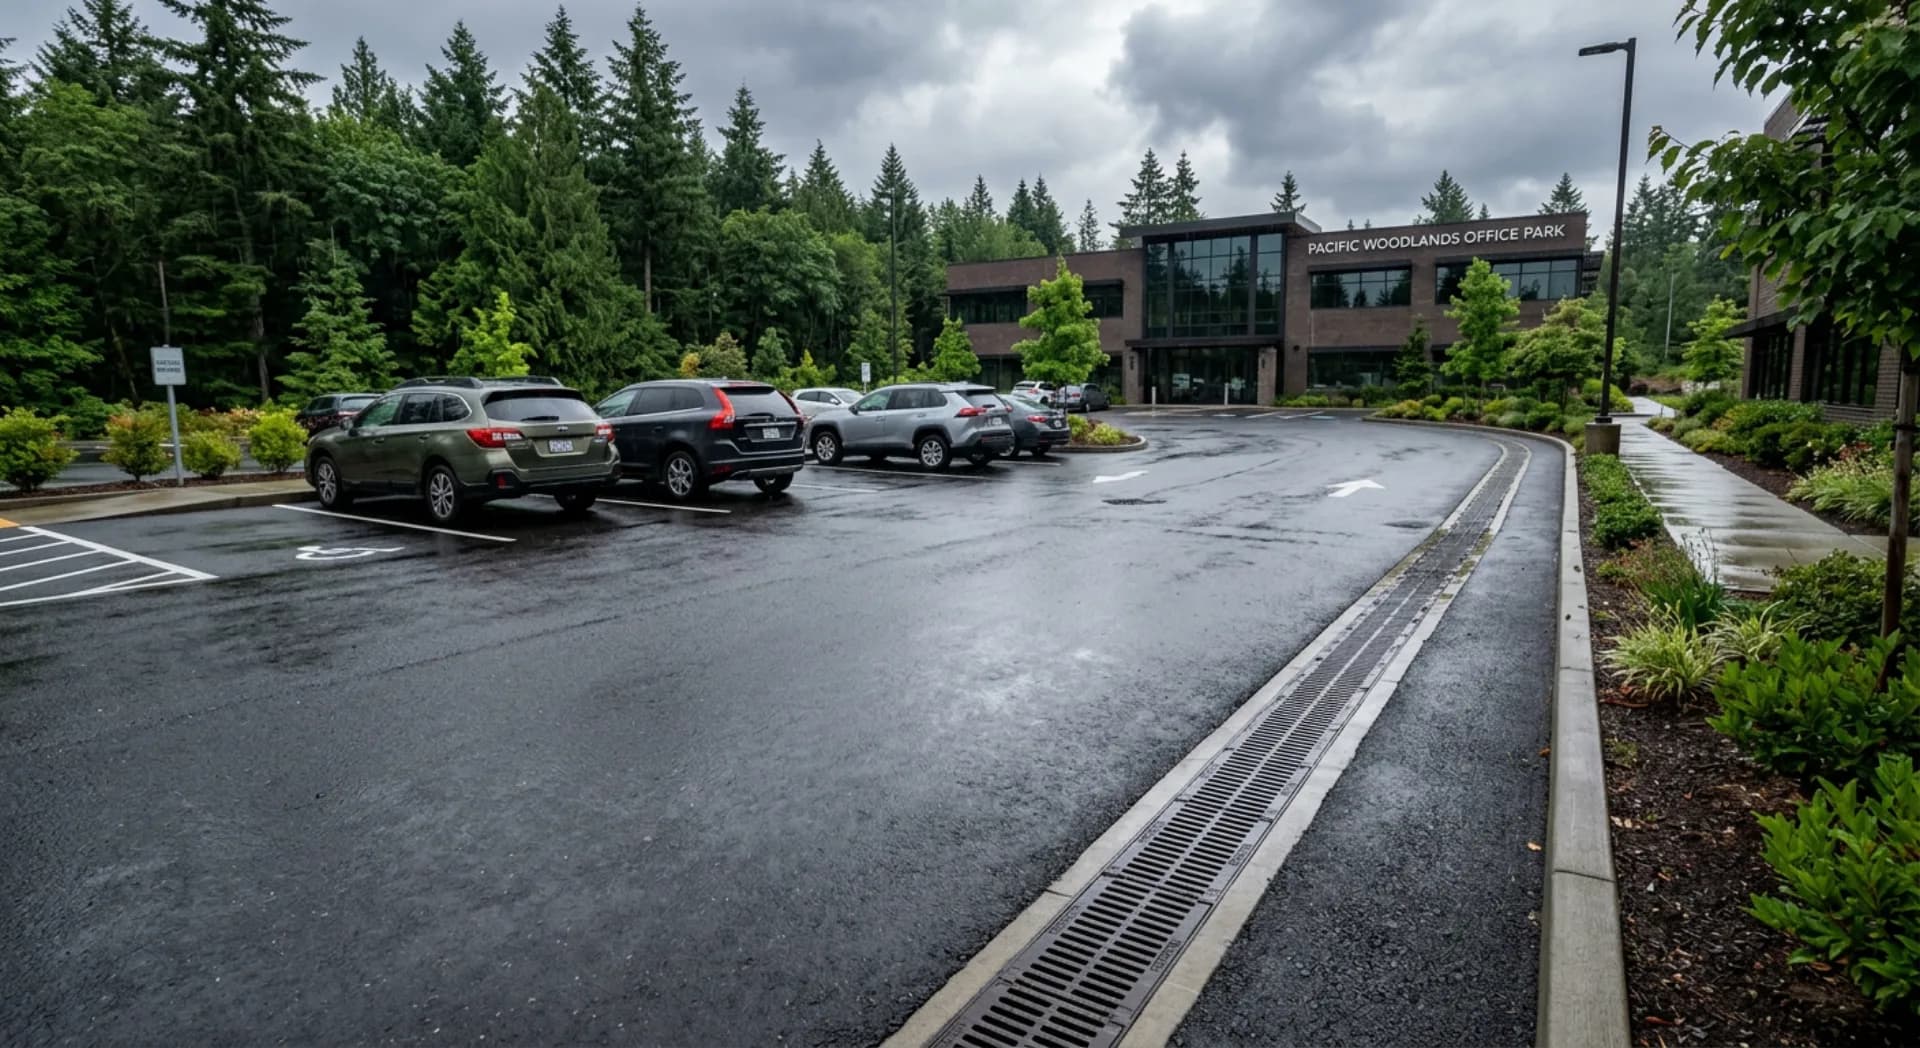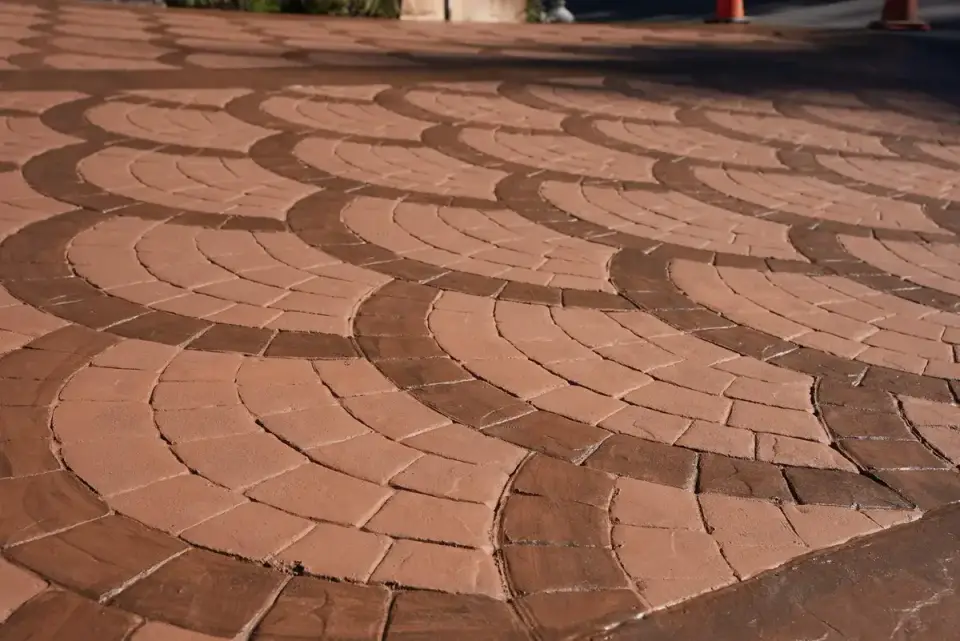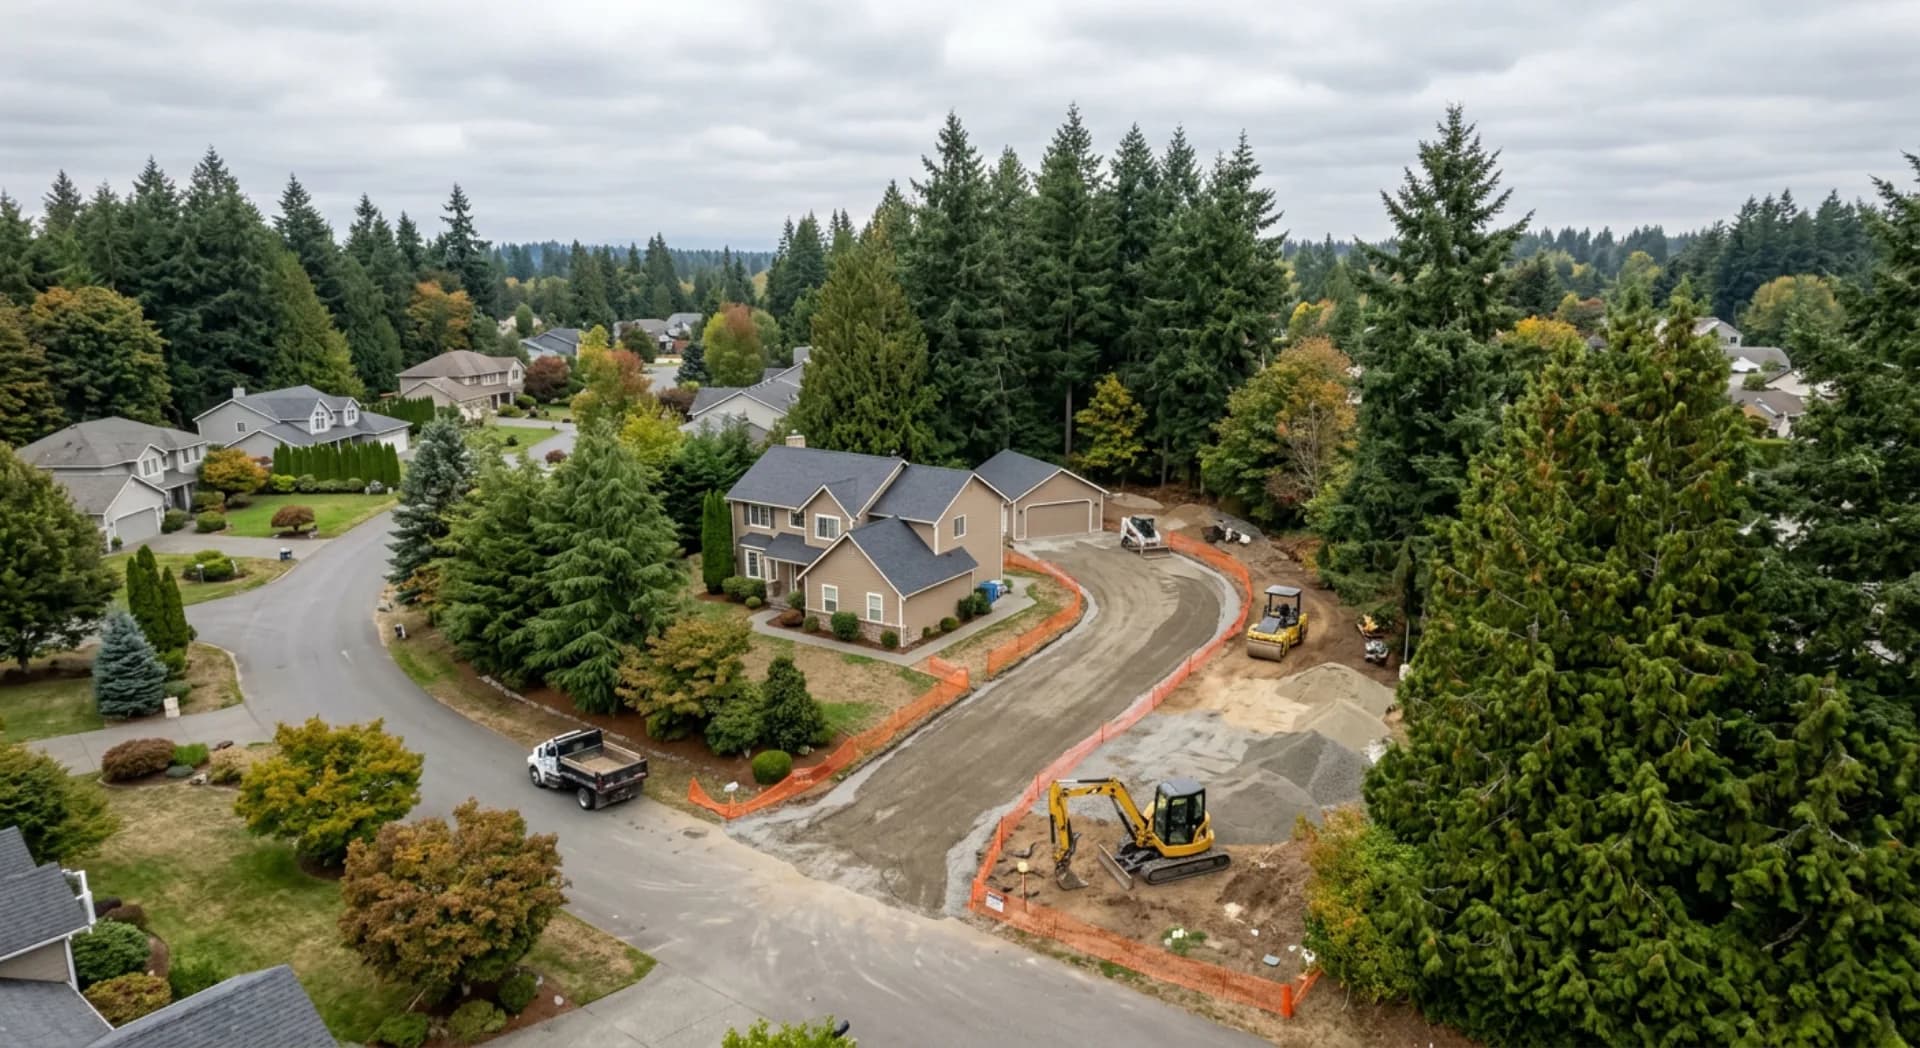
Getting a new asphalt driveway, parking lot, or pathway is an exciting investment in your property. But the work that happens before the paving crew arrives is just as important as the paving itself. Proper preparation ensures your new asphalt surface will last for decades — especially in the Pacific Northwest, where rain, freeze-thaw cycles, and clay-heavy soils present unique challenges.
Here's everything you need to know to get your property ready for asphalt paving.
Key Takeaways
- Clear the entire paving area — Remove vehicles, debris, landscaping, and any obstacles at least 3 feet beyond the paving zone before the crew arrives
- Drainage must be solved first — Address water flow, grading, and any standing water issues before asphalt goes down; poor drainage is the #1 cause of premature pavement failure in the PNW
- Communicate with your contractor — Discuss utility locations, access points, timeline, and any site-specific challenges well before paving day
- Weather timing is critical — Schedule paving during the dry season (May-September) when temperatures stay above 50°F for proper asphalt compaction
- Protect new asphalt during curing — Keep heavy equipment off for at least 5 days and avoid parking in the same spot for the first several months
Why Site Preparation Matters So Much
Asphalt is only as strong as the foundation beneath it. In Washington State, our wet climate means water management is the single biggest factor in pavement longevity. A poorly prepared base will lead to:
- Premature cracking from settling and shifting
- Potholes caused by water trapped beneath the surface
- Drainage issues that send water toward your home or building
- Uneven surfaces that worsen over time
Professional paving contractors handle most of the heavy preparation, but there are important steps property owners should take to ensure the project goes smoothly.
Step 1: Clear the Area Completely
Before any work begins, make sure the paving area is completely clear:
- Remove vehicles, trailers, and equipment from the work zone
- Relocate planters, garden decorations, and portable structures at least 10 feet from the paving area
- Trim overhanging branches that could interfere with equipment access
- Mark or flag sprinkler heads and any underground utilities
- Remove loose debris like gravel, leaves, and fallen branches
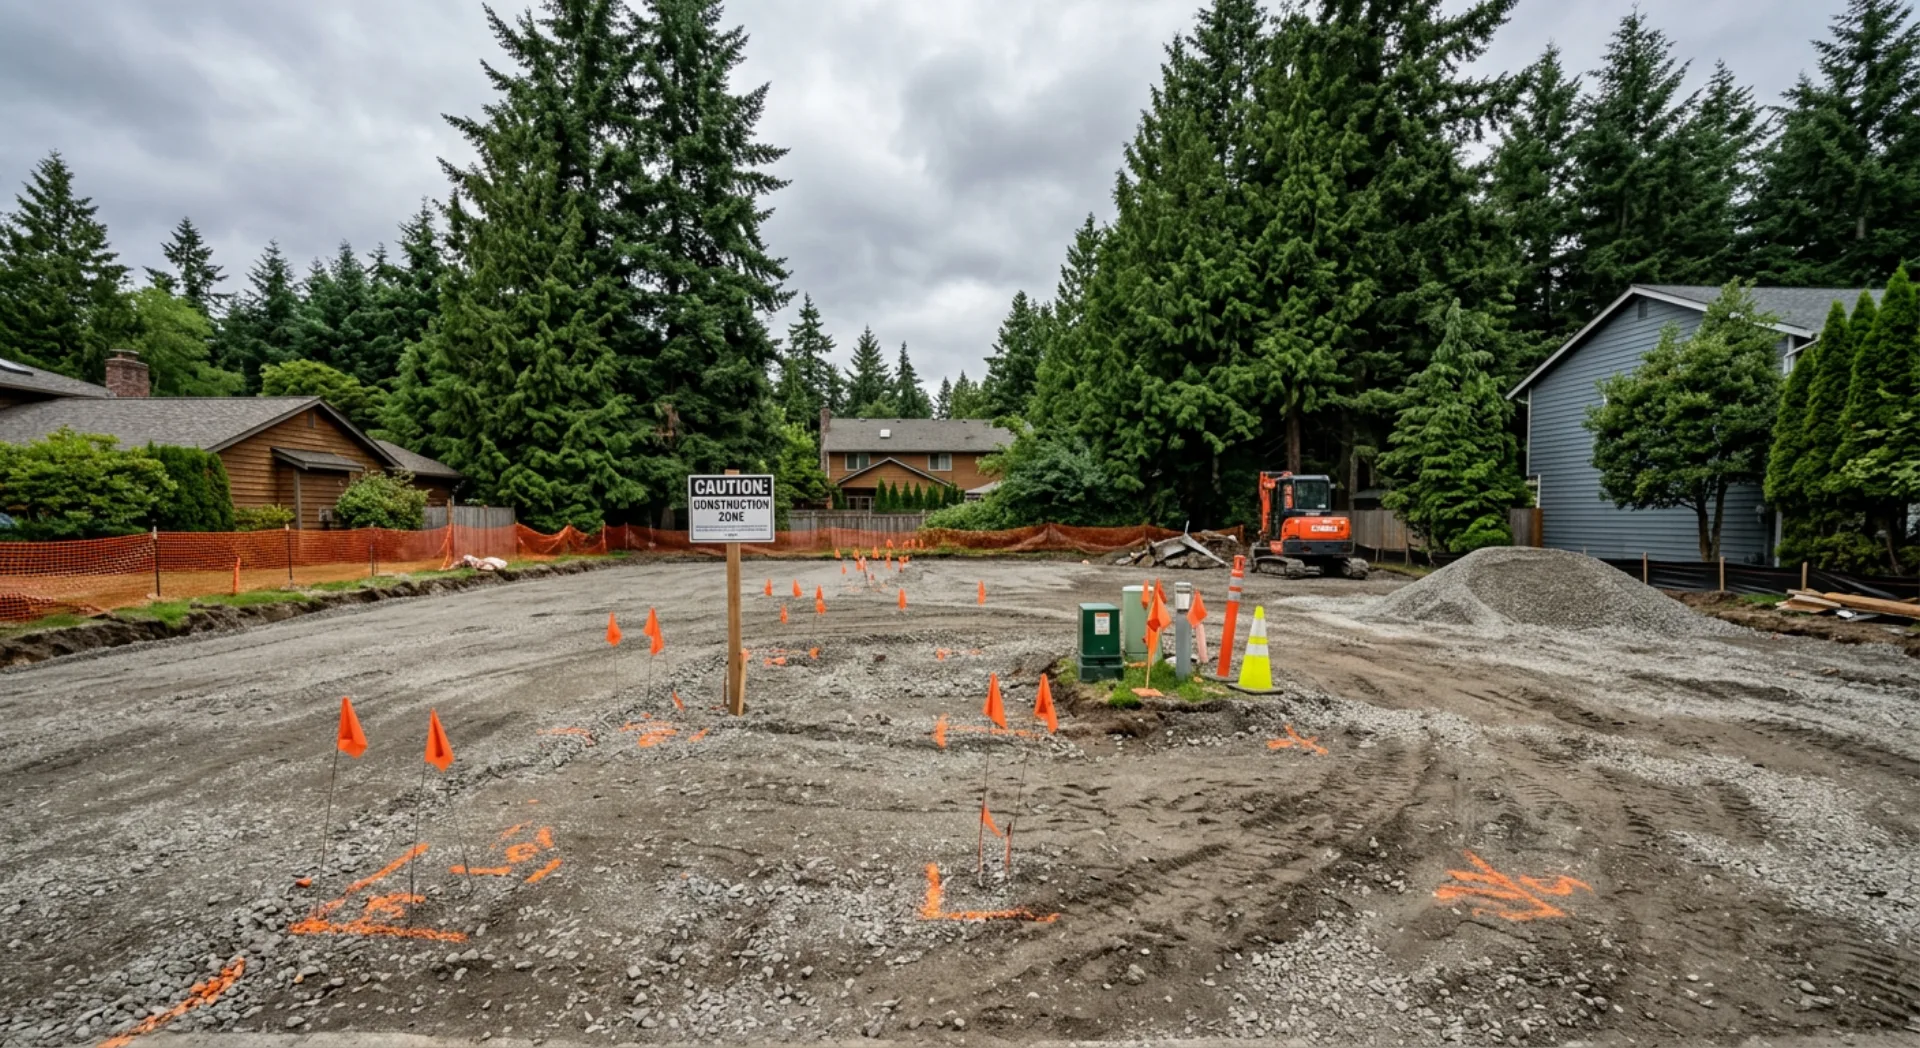
Your contractor will need room for dump trucks, a paving machine, and rollers. Plan for equipment that's roughly the width of a standard lane to move freely around the site.
Step 2: Address Drainage Before Paving
The Pacific Northwest receives an average of 37 inches of rain annually, and some areas get significantly more. Drainage isn't optional — it's critical.
Key drainage considerations:
- Identify where water currently flows during heavy rain — watch your property during a storm if possible
- Ensure gutters and downspouts direct water away from the planned paving area
- Discuss grading plans with your contractor to guarantee proper water runoff (minimum 2% slope)
- Consider French drains or catch basins if your property sits in a low area
- Check that neighboring properties won't drain onto your new surface
Poor drainage is the number one reason asphalt fails prematurely in our region. For a deeper look at water management options, see our guide on drainage solutions for paved surfaces. A good contractor will evaluate drainage as part of the project, but the more information you can provide about how water behaves on your property, the better.
Step 3: Understand the Soil Beneath
Washington's soil varies dramatically by region. Western Washington is known for clay-heavy soil that holds moisture, while Eastern Washington tends toward sandier compositions. Both present challenges:
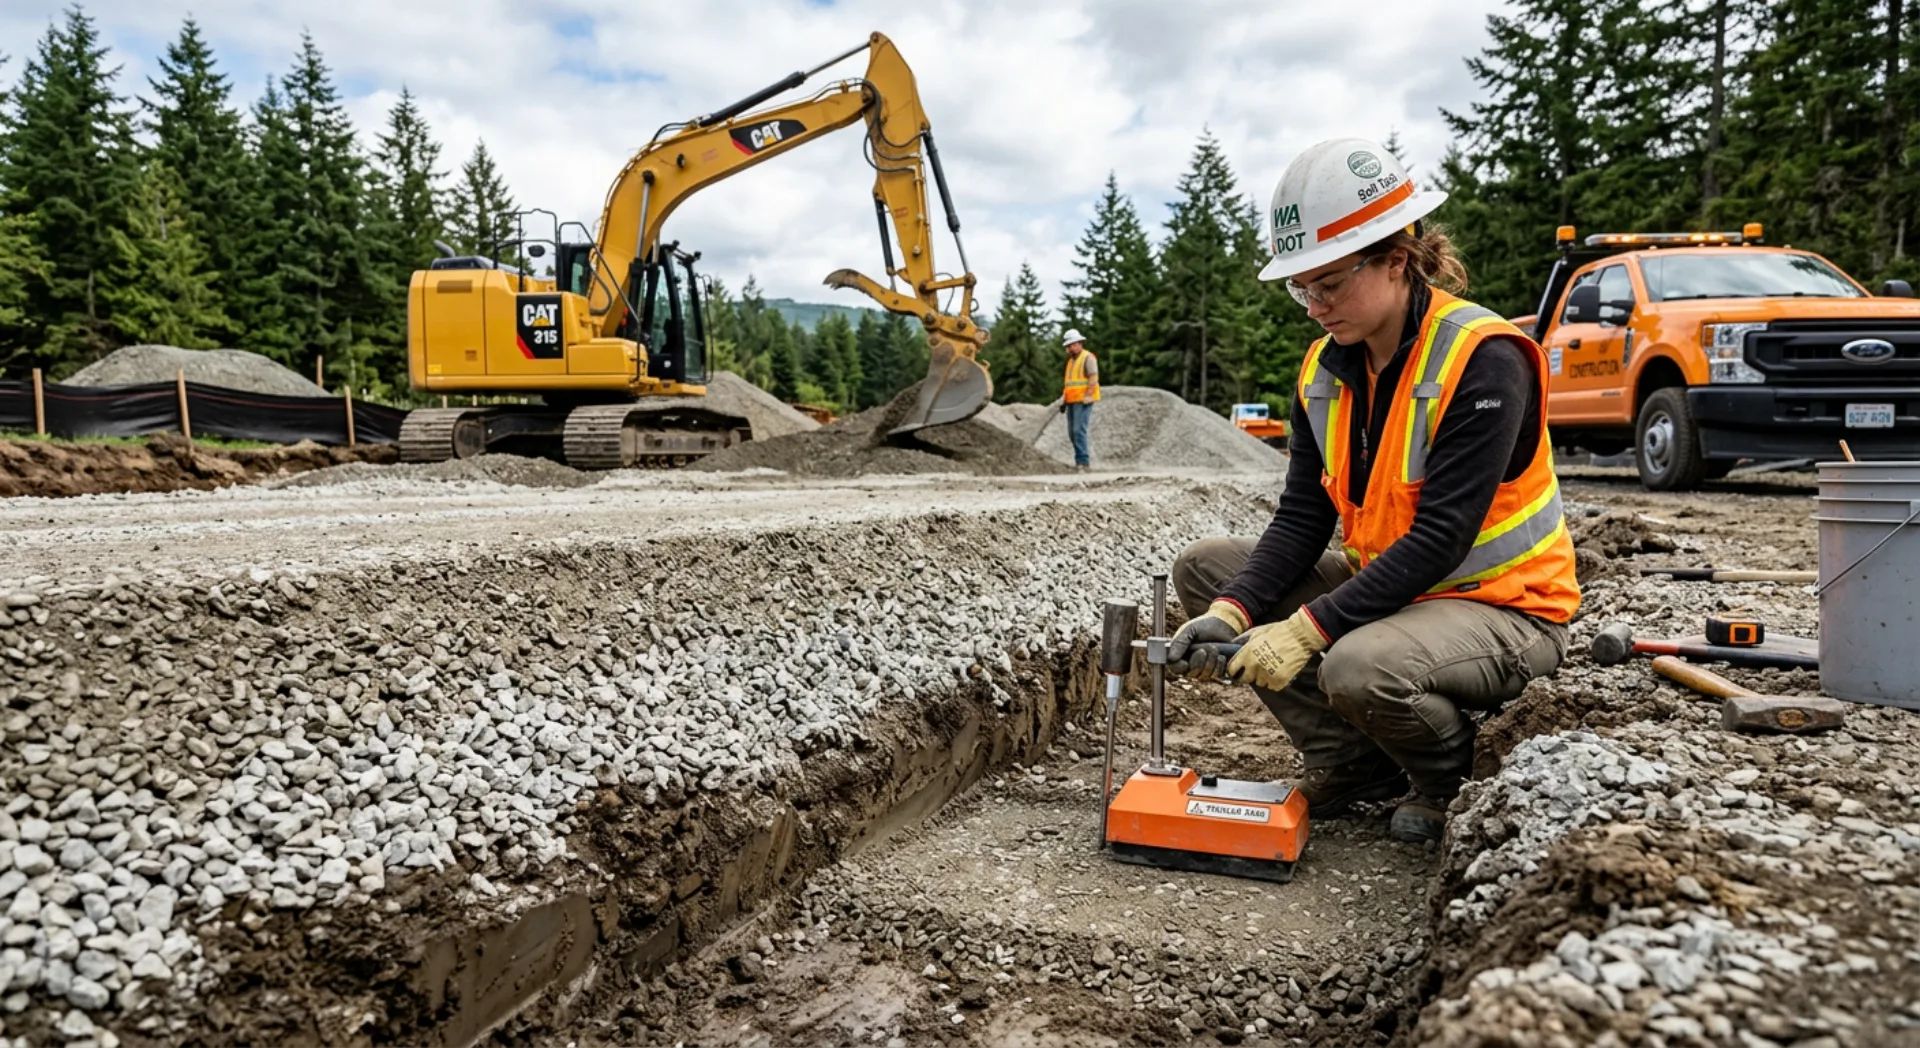
Clay soil (common in King & Snohomish County):
- Expands when wet, contracts when dry
- Requires a thicker gravel base (typically 6-8 inches minimum)
- May need geotextile fabric to prevent clay from migrating into the base
Sandy or silty soil:
- Better drainage but less structural support
- May need compaction in multiple lifts
- Can shift under heavy loads without proper base preparation
Your paving contractor should evaluate soil conditions before providing a final plan. Don't hesitate to ask about their approach to base preparation — it's the most important part of the job.
Step 4: Coordinate Utility Access
Before excavation or grading begins, make sure all underground utilities are located and marked:
- Call 811 (free utility locating service) at least 3 business days before work starts — this is required by Washington law
- Identify private utilities not covered by 811, such as septic lines, private water lines, irrigation systems, and landscape lighting wiring
- Communicate any known underground features to your contractor, including old tree roots, buried structures, or previous pavement layers
Hitting an unmarked utility line can cause expensive delays and safety hazards. This step takes minutes but can save days of project time.
Step 5: Plan for Access and Timing
Asphalt paving requires specific conditions to achieve the best results:
Weather considerations:
- Ambient temperature should be above 50°F during paving
- No rain in the forecast for at least 24 hours after paving
- Spring through early fall (April–October) is the ideal paving season in the Pacific Northwest
Access planning:
- The paved area will be off-limits for 24-48 hours after installation
- Plan alternative parking for vehicles during this curing period
- Heavy vehicles (delivery trucks, moving vans) should stay off new asphalt for 5-7 days
- Notify tenants, neighbors, or customers about temporary access changes
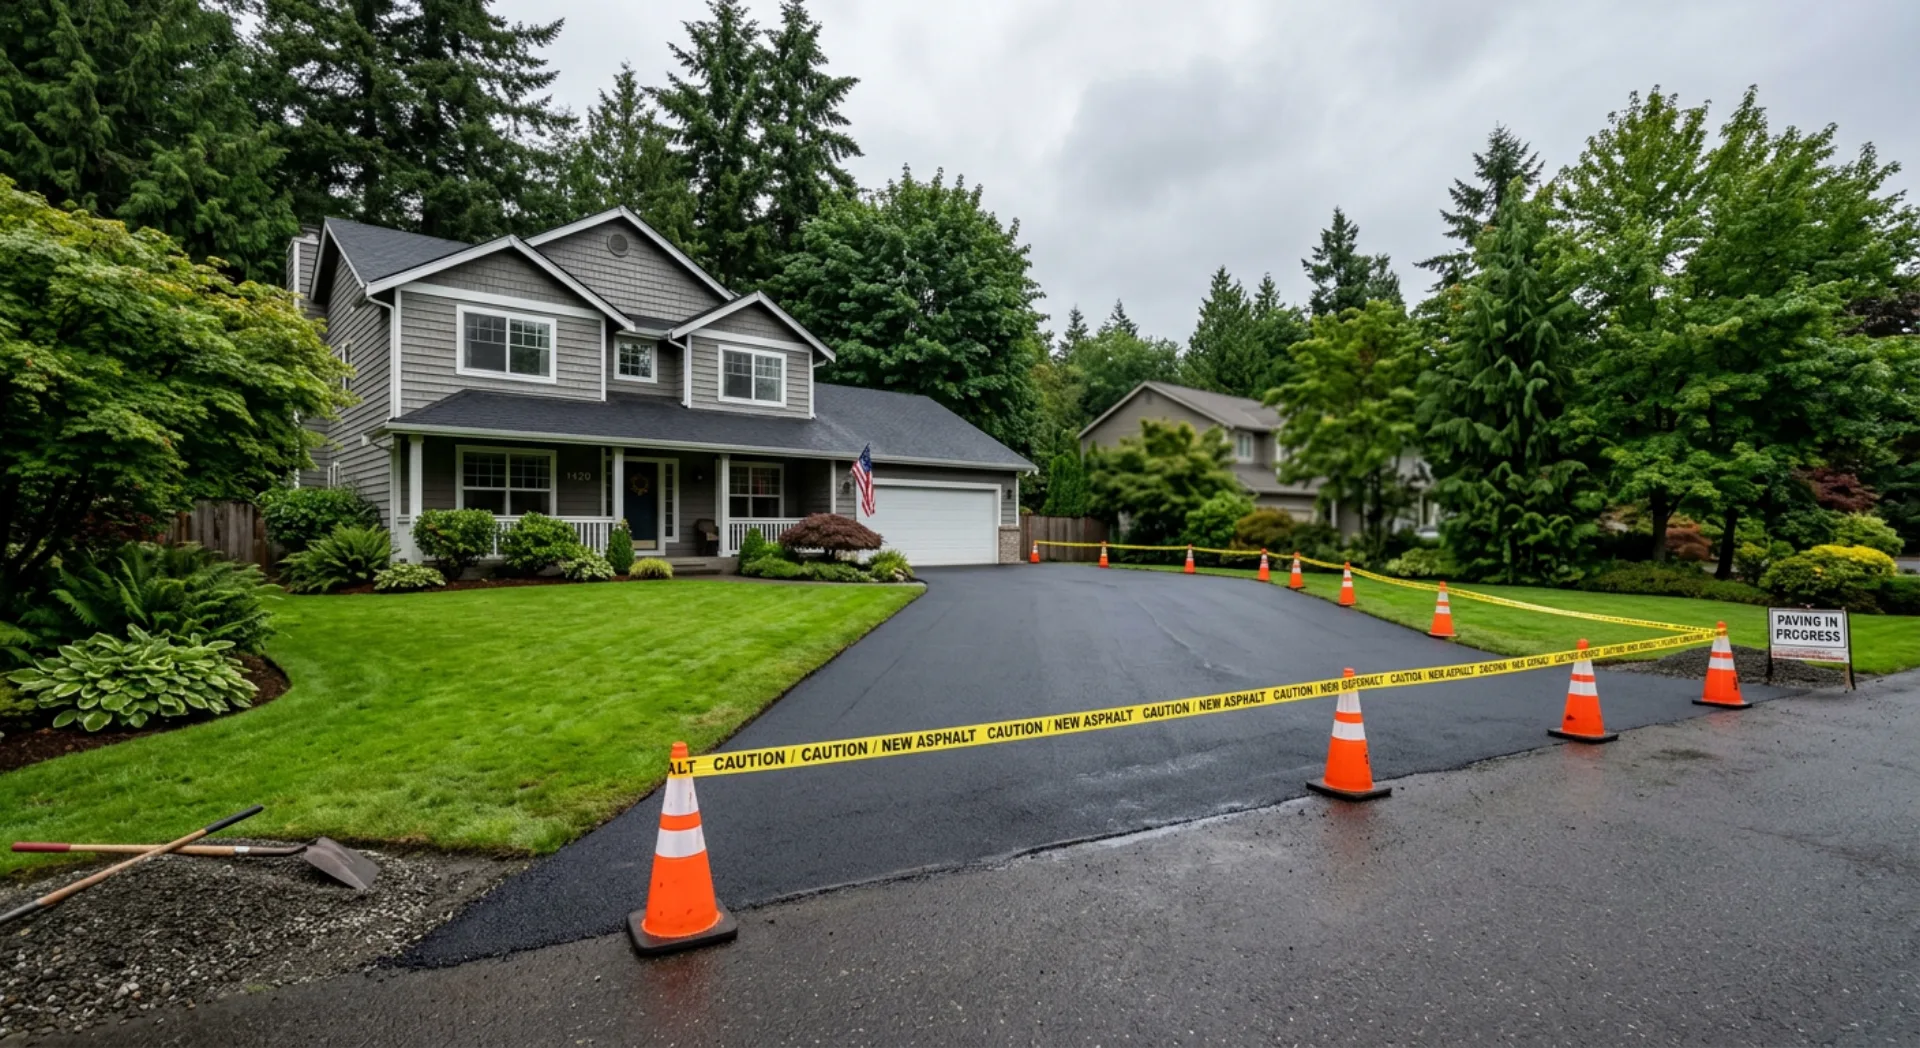
Step 6: Discuss Edge Details and Transitions
The edges of your new asphalt surface are critical for both appearance and longevity:
- Transitions to concrete (sidewalks, garage floors) need proper joint planning
- Landscape borders should be finalized before paving to ensure clean edges
- Curbing options can protect edges from erosion and grass encroachment
- Existing surfaces adjacent to the new paving may need saw-cutting for a clean seam
Take time to walk the project area with your contractor and discuss every edge transition. This attention to detail makes the difference between a professional result and a job that looks unfinished.
What to Expect on Paving Day
Once preparation is complete, the actual paving process moves quickly:
- Grading and compaction of the base material (if not already done)
- Tack coat application to bond the new asphalt to the prepared base
- Hot-mix asphalt delivery and spreading using a paving machine
- Rolling and compaction with steel drum and pneumatic rollers
- Final inspection and cleanup
Most residential driveways can be paved in a single day. Larger commercial projects may take 2-3 days depending on scope.
Protecting Your Investment After Paving
Your new asphalt surface is an investment worth protecting:
- Stay off the surface for the recommended curing time
- Avoid turning your steering wheel while stationary on new asphalt (especially in the first 6 months)
- Keep heavy pointed objects (jack stands, kickstands, furniture legs) off the surface in hot weather
- Plan for sealcoating 6-12 months after installation to maximize lifespan — and if the surface starts showing wear down the road, an asphalt overlay may be a cost-effective option
- Address any cracks promptly — small repairs prevent big problems
Frequently Asked Questions
How long does asphalt paving take from start to finish?
For a typical residential driveway, the preparation and paving process takes 2-4 days total. The actual paving usually completes in one day, with 1-3 days of base preparation before that. Larger commercial projects may take a week or more.
Can asphalt be paved in the rain?
No. Asphalt must be laid on a dry surface, and rain during or immediately after paving can damage the surface and prevent proper compaction. Reputable contractors will reschedule rather than risk a poor result.
How thick should residential asphalt be in Washington?
Residential driveways in the Pacific Northwest typically require 2-3 inches of compacted asphalt over a 4-8 inch compacted gravel base. The exact specifications depend on soil conditions, expected traffic, and local requirements.
When is the best time to pave in the Pacific Northwest?
Late spring through early fall (May through September) offers the most reliable paving conditions. Temperatures need to be consistently above 50°F, and drier weather reduces scheduling delays. Still deciding between materials? Our concrete vs asphalt driveway comparison can help.
Ready to Start Your Paving Project?
Proper preparation is the foundation of a long-lasting asphalt surface. If you're planning a driveway, parking lot, or pathway project in King or Snohomish County, the Jireh team is here to guide you through every step — from initial consultation to final compaction.
Contact us today for a free estimate and let's discuss how to make your paving project a success.